
我正在参加「新春」征文活动,活动链接: https://www.agora.io/cn/community/discussion/43/25358
创建项目
登录声网控制台,创建一个云信令项目
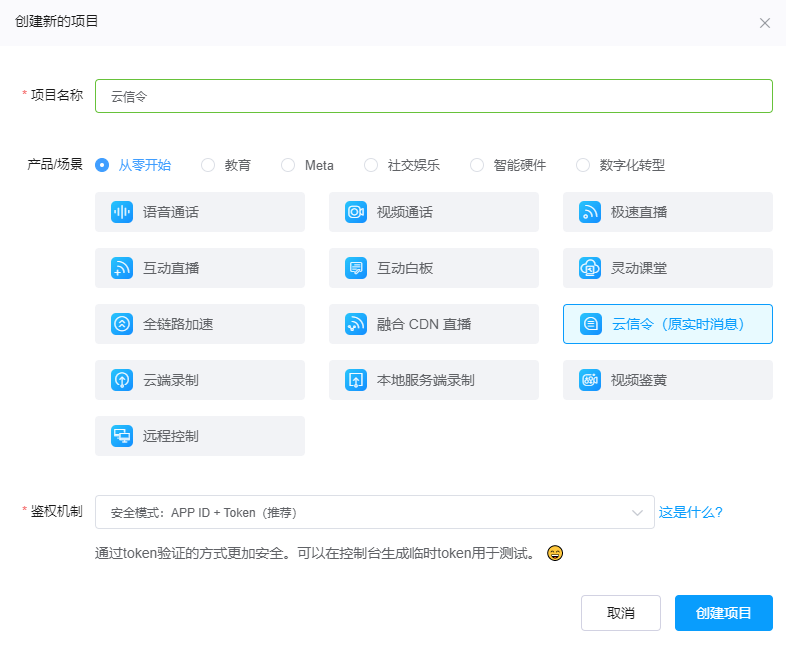
完成后,点击项目配置,获取项目的APPID,然后留意临时token处,云信令属于RTM,所以要手动切换一下,待会需要用到。
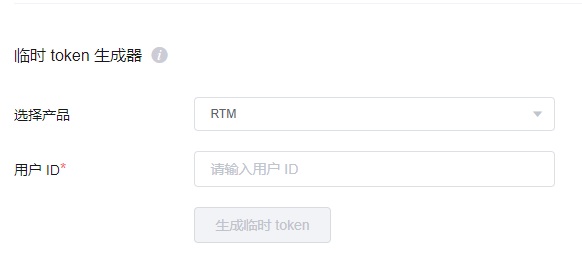
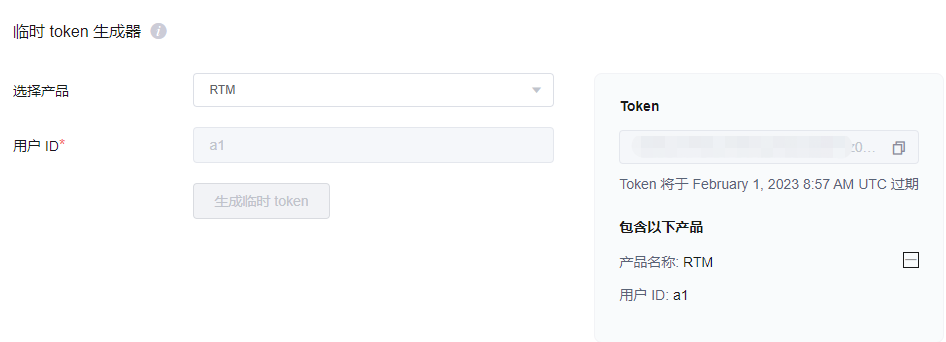
通过输入用户ID即可生成临时token。
创建vue项目
我使用的vue脚手架版本是@vue/cli 4.5.1。
首先在命令行中执行
vue create rtmproj按需选择vue3或者vue2版本,我用的是vue3的。创建完毕后,打开项目,编写云信令的界面与逻辑。
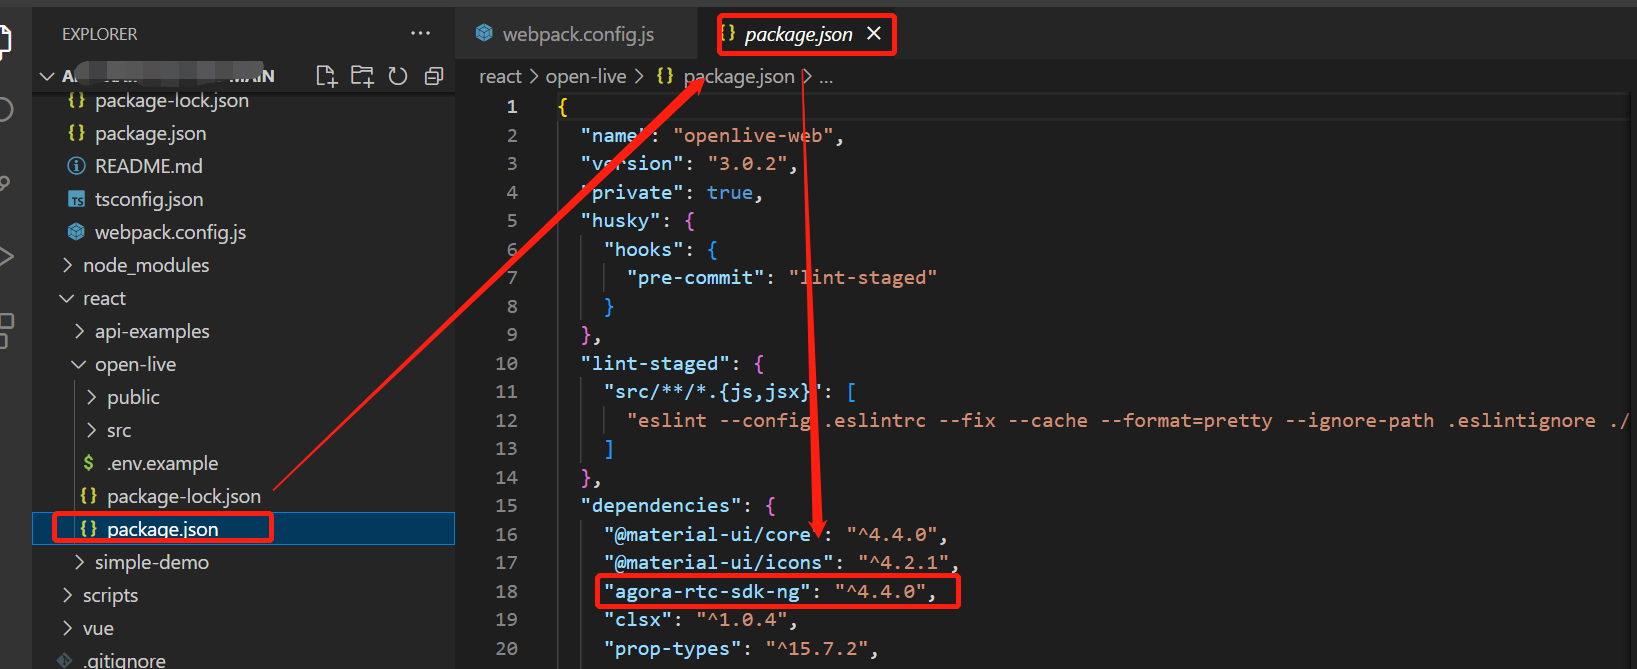
集成云信令SDK
在项目根目录中,执行
pnpm i agora-rtm-sdk引入SDK。然后在使用到sdk的地方填写。
import AgoraRTM from 'agora-rtm-sdk';就可以使用了。
界面设计
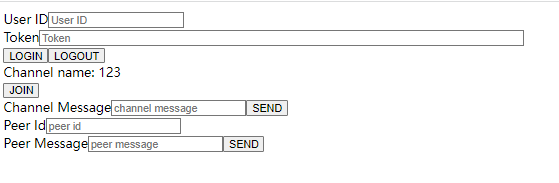
我稍微偷懒了下~参考了官方文档的教程来修改,代码如下:
<template>
  <div>
    <form id="loginForm">
      <div class="col" style="min-width: 433px;">
        <div class="card" style="margin-top: 0px; margin-bottom: 0px;">
          <div class="row card-content" style="margin-bottom: 0px; margin-top: 10px;">
            <div class="input-field" style="width: 100%;">
              <div class="row">
                <label>User ID</label>
                <input type="text" placeholder="User ID" id="userID" v-model="options.uid">
              </div>
              <div class="row">
                <label>Token</label>
                <input type="text" placeholder="Token" id="userID" v-model="options.token" style="width: 600px;">
              </div>
            </div>
            <div class="row">
              <div>
                <button type="button" id="login" @click="login">LOGIN</button>
                <button type="button" id="logout" @click="logout">LOGOUT</button>
              </div>
            </div>
            <div class="input-field">
              <label>Channel name: 123</label>
            </div>
            <div class="row">
              <div>
                <button type="button" id="join" @click="join">JOIN</button>
              </div>
            </div>
            <div class="input-field channel-padding">
              <label>Channel Message</label>
              <input type="text" placeholder="channel message" id="channelMessage" v-model="channelMessage">
              <button type="button" id="send_channel_message" @click="sendChannelMessage">SEND</button>
            </div>
            <div class="input-field">
              <label>Peer Id</label>
              <input type="text" placeholder="peer id" id="peerId" v-model="peerId">
            </div>
            <div class="input-field channel-padding">
              <label>Peer Message</label>
              <input type="text" placeholder="peer message" id="peerMessage" v-model="peerMessage">
              <button type="button" id="send_peer_message" @click="sendPeerMessage">SEND</button>
            </div>
          </div>
        </div>
      </div>
    </form>

    <div id="log">
      <div v-for="(obj) in log" :key="obj">
        {{ obj }}
      </div>
    </div>
  </div>
</template>
然后实现所需的数据的双向绑定:
const log = ref([``])
const peerId = ref()
const peerMessage = ref(``)
const channelMessage = ref(``)
// login 方法参数
const options = ref({
  uid: "",
  token: ""
})
实现登录登出功能
login事件的主要逻辑就是根据APPID创建一个客户端实例,然后监听端对端发送的消息。
const login = () => {
  console.log(options.value)
  // 初始化客户端
  client = AgoraRTM.createInstance(appID)

  // 显示连接状态变化
  client.on('ConnectionStateChanged', function (state, reason) {
    log.value.push("State changed To: " + state + " Reason: " + reason)
  })

  client.login(options.value).then(() => {
    // 客户端事件监听
    // 显示对端发送的消息
    client.on('MessageFromPeer', function (message, peerId) {
      log.value.push("Message from: " + peerId + " Message: " + message.text)
    })
  })
}
实现发送指定用户消息的功能
通过调用sendMessageToPeer方法,把输入的消息发送到指定用户中,这里的peerId其实就是上面填写的userId。
const sendPeerMessage = () => {
  client.sendMessageToPeer(
    { text: peerMessage.value },
    peerId.value,
  ).then(sendResult => {
    if (sendResult.hasPeerReceived) {
      log.value.push("Message has been received by: " + peerId.value + " Message: " + peerMessage.value)
    } else {
      log.value.push("Message sent to: " + peerId.value + " Message: " + peerMessage.value)
    }
  })
}
实现发送频道消息的功能
发送频道消息的前提是要加入一个频道,加入成功后便监听频道消息等。
const join = () => {
  channel = client.createChannel("123")
  channel.join().then(() => {
    log.value.push("You have successfully joined channel " + channel.channelId)
    channel.on('ChannelMessage', function (message, memberId) {
      log.value.push(memberId + ": " + message.text)

    })
    // 显示频道
    channel.on('MemberJoined', function (memberId) {
      log.value.push(memberId + " joined the channel")

    })
    // 频道成员
    channel.on('MemberLeft', function (memberId) {
      log.value.push(memberId + " left the channel")
    })
  })
}
然后再实现发送事件,通过sendMessage方法来实现。
const sendChannelMessage = () => {
  if (channel != null) {
    channel.sendMessage({ text: channelMessage.value }).then(() => {
      log.value.push("Channel message: " + channelMessage.value + " from " + channel.channelId)
    })
  }
}
运行项目
执行
pnpm run serve运行项目,成功后打开 localhost:8080 即可访问到我们的项目。
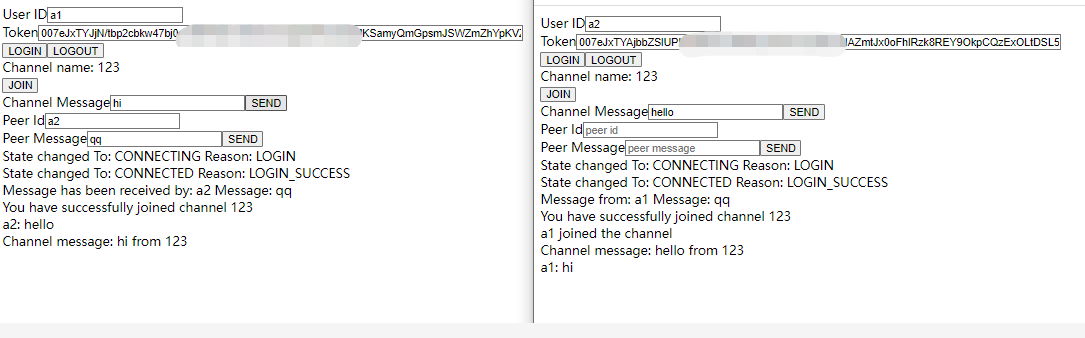
填写userId和token,token则可以在控制台里的临时token处生成使用,然后点击LOGIN按钮即可登录。
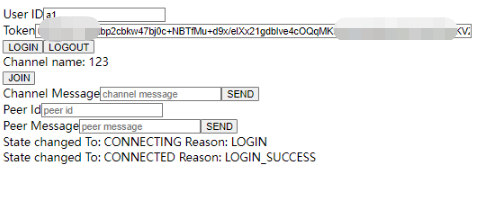
然后再打开一个页面,登录另一个用户,双方就可以端对端通讯或者加入同一个频道聊天了。