跳转链接:基于声网 Flutter SDK 实现多人视频通话(上)
进阶调整
最后我们再来个进阶调整,前面 remoteUid 保存的只是远程用户 id ,如果我们将 remoteUid 修改为 remoteControllers 用于保存 VideoViewController ,那么就可以简单实现画面切换,比如「点击用户画面实现大小切换」这样的需求。如下代码所示,简单调整后逻辑为:
- remoteUid 从保存远程用户 id 变成了 remoteControllers 的 Map<int,VideoViewController>
- 新增了currentController用于保存当前大画面下的 VideoViewController ,默认是用户自己
- registerEventHandler 里将 uid 保存更改为 VideoViewController 的创建和保存
- 在小窗处增加 InkWell 点击,在单击之后切换 VideoViewController 实现画面切换
class VideoChatPage extends StatefulWidget {
  const VideoChatPage({Key? key}) : super(key: key);

  @override
  State<VideoChatPage> createState() => _VideoChatPageState();
}

class _VideoChatPageState extends State<VideoChatPage> {
  late final RtcEngine _engine;

  ///初始化状态
  late final Future<bool?> initStatus;

  ///当前 controller
  late VideoViewController currentController;

  ///是否加入聊天
  bool isJoined = false;

  /// 记录加入的用户id
  Map<int, VideoViewController> remoteControllers = {};

  @override
  void initState() {
    super.initState();
    initStatus = _requestPermissionIfNeed().then((value) async {
      await _initEngine();
      ///构建当前用户 currentController
      currentController = VideoViewController(
        rtcEngine: _engine,
        canvas: const VideoCanvas(uid: 0),
      );
      return true;
    }).whenComplete(() => setState(() {}));
  }

  Future<void> _requestPermissionIfNeed() async {
    await [Permission.microphone, Permission.camera].request();
  }

  Future<void> _initEngine() async {
    //创建 RtcEngine
    _engine = createAgoraRtcEngine();
    // 初始化 RtcEngine
    await _engine.initialize(RtcEngineContext(
      appId: appId,
    ));

    _engine.registerEventHandler(RtcEngineEventHandler(
      // 遇到错误
      onError: (ErrorCodeType err, String msg) {
        print('[onError] err: $err, msg: $msg');
      },
      onJoinChannelSuccess: (RtcConnection connection, int elapsed) {
        // 加入频道成功
        setState(() {
          isJoined = true;
        });
      },
      onUserJoined: (RtcConnection connection, int rUid, int elapsed) {
        // 有用户加入
        setState(() {
          remoteControllers[rUid] = VideoViewController.remote(
            rtcEngine: _engine,
            canvas: VideoCanvas(uid: rUid),
            connection: RtcConnection(channelId: channel),
          );
        });
      },
      onUserOffline:
          (RtcConnection connection, int rUid, UserOfflineReasonType reason) {
        // 有用户离线
        setState(() {
          remoteControllers.remove(rUid);
        });
      },
      onLeaveChannel: (RtcConnection connection, RtcStats stats) {
        // 离开频道
        setState(() {
          isJoined = false;
          remoteControllers.clear();
        });
      },
    ));

    // 打开视频模块支持
    await _engine.enableVideo();
    // 配置视频编码器,编码视频的尺寸(像素),帧率
    await _engine.setVideoEncoderConfiguration(
      const VideoEncoderConfiguration(
        dimensions: VideoDimensions(width: 640, height: 360),
        frameRate: 15,
      ),
    );

    await _engine.startPreview();
  }

  @override
  Widget build(BuildContext context) {
    return Scaffold(
      appBar: AppBar(),
      body: Stack(
        children: [
          FutureBuilder<bool?>(
              future: initStatus,
              builder: (context, snap) {
                if (snap.data != true) {
                  return Center(
                    child: new Text(
                      "初始化ing",
                      style: TextStyle(fontSize: 30),
                    ),
                  );
                }
                return AgoraVideoView(
                  controller: currentController,
                );
              }),
          Align(
            alignment: Alignment.topLeft,
            child: SingleChildScrollView(
              scrollDirection: Axis.horizontal,
              child: Row(
                ///增加点击切换
                children: List.of(remoteControllers.entries.map(
                  (e) => InkWell(
                    onTap: () {
                      setState(() {
                        remoteControllers[e.key] = currentController;
                        currentController = e.value;
                      });
                    },
                    child: SizedBox(
                      width: 120,
                      height: 120,
                      child: AgoraVideoView(
                        controller: e.value,
                      ),
                    ),
                  ),
                )),
              ),
            ),
          )
        ],
      ),
      floatingActionButton: FloatingActionButton(
        onPressed: () async {
          // 加入频道
          _engine.joinChannel(
            token: token,
            channelId: channel,
            uid: 0,
            options: ChannelMediaOptions(
              channelProfile: ChannelProfileType.channelProfileLiveBroadcasting,
              clientRoleType: ClientRoleType.clientRoleBroadcaster,
            ),
          );
        },
      ),
    );
  }
}
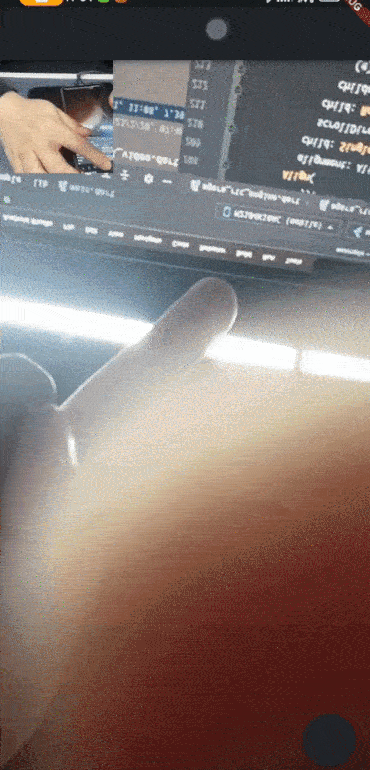
完整代码如上图所示,运行后效果如下图所示,可以看到画面在点击之后可以完美切换,这里主要提供一个大体思路,如果有兴趣的可以自己优化并添加切换动画效果。
另外如果你想切换前后摄像头,可以通过 _engine.switchCamera(); 等 API 简单实现。
总结
从上面可以看到,其实跑完基础流程很简单,回顾一下前面的内容,总结下来就是:
- 申请麦克风和摄像头权限
- 创建和通过 App ID 初始化引擎
- 注册 RtcEngineEventHandler 回调用于判断状态
- 打开和配置视频编码支持,并且启动预览 startPreview
- 调用 joinChannel 加入对应频道
- 通过 AgoraVideoView 和 VideoViewController 配置显示本地和远程用户画面
- 当然,声网 SDK 在多人视频通话领域还拥有各类丰富的底层接口,例如虚拟背景、美颜、空间音效、音频混合等等,这些我们后面在进阶内容里讲到,更多 API 效果可以查阅 Flutter RTC API 获取。
额外拓展
最后做个内容拓展,这部分和实际开发可能没有太大关系,纯粹是一些技术补充。如果使用过 Flutter 开发过视频类相关项目的应该知道,Flutter 里可以使用外界纹理和PlatfromView两种方式实现画面接入,而由此对应的是 AgoraVideoView 在使用 VideoViewController 时,是有 useFlutterTexture 和 useAndroidSurfaceView 两个可选参数。
这里我们不讨论它们之间的优劣和差异,只是让大家可以更直观理解声网 SDK 在不同平台渲染时的差异,作为拓展知识点补充。
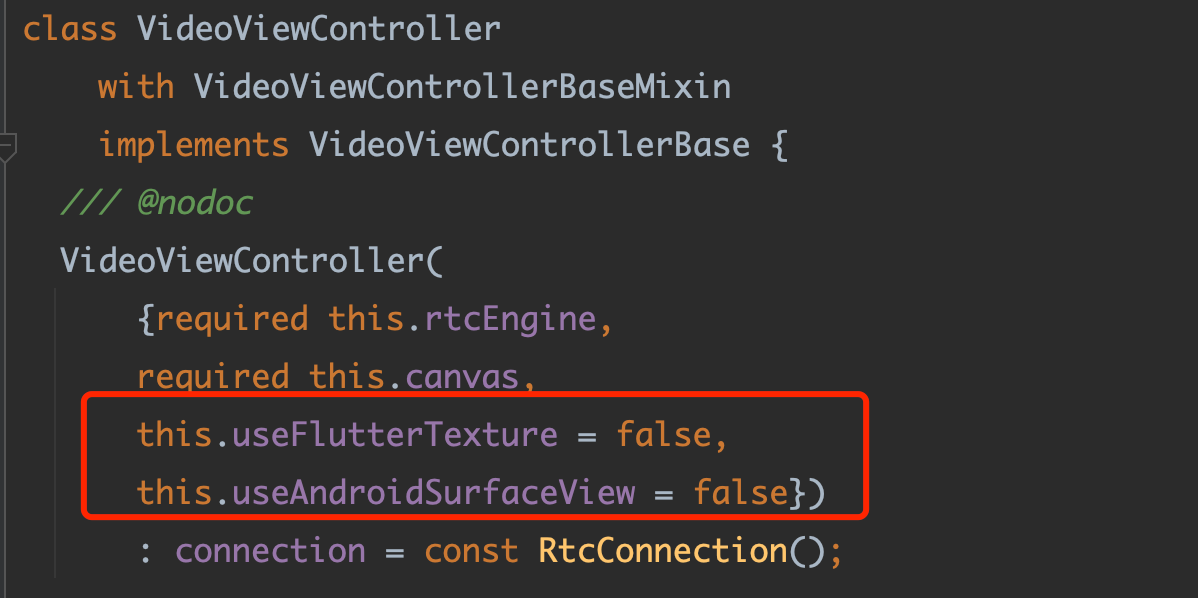
首先我们看 useFlutterTexture,从源码中我们可以看到:
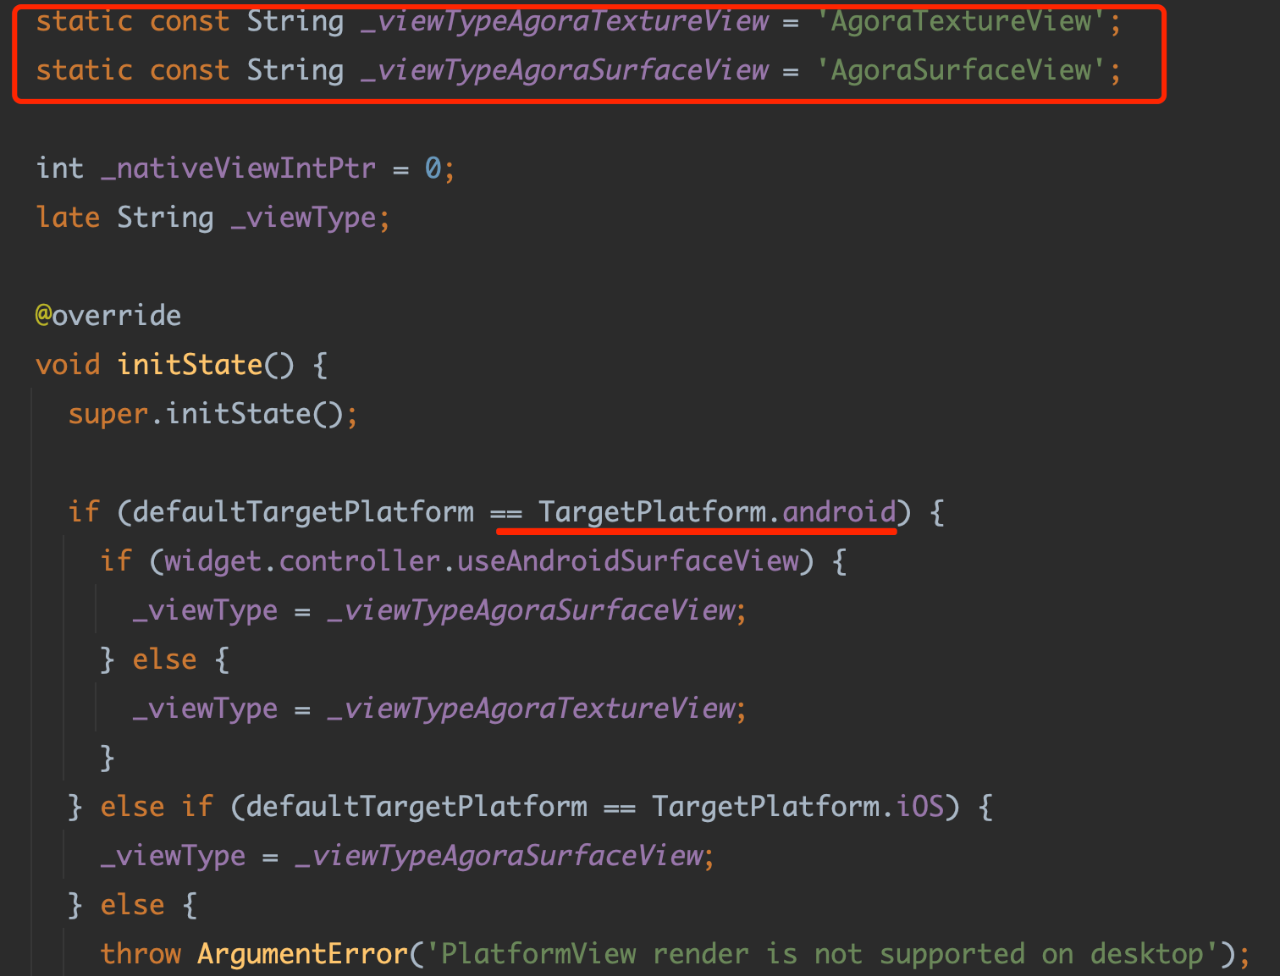
- 在 macOS 和 windows 版本中,声网 SDK 默认只支持 Texture 这种外界纹理的实现,这主要是因为 PC 端的一些 API 限制导致。
- Android 上并不支持配置为 Texture ,只支持 PlatfromView 模式,这里应该是基于性能考虑。
- 只有 iOS 支持 Texture 模式或者 PlatfromView 的渲染模式可选择,所以 useFlutterTexture 更多是针对 iOS 生效。
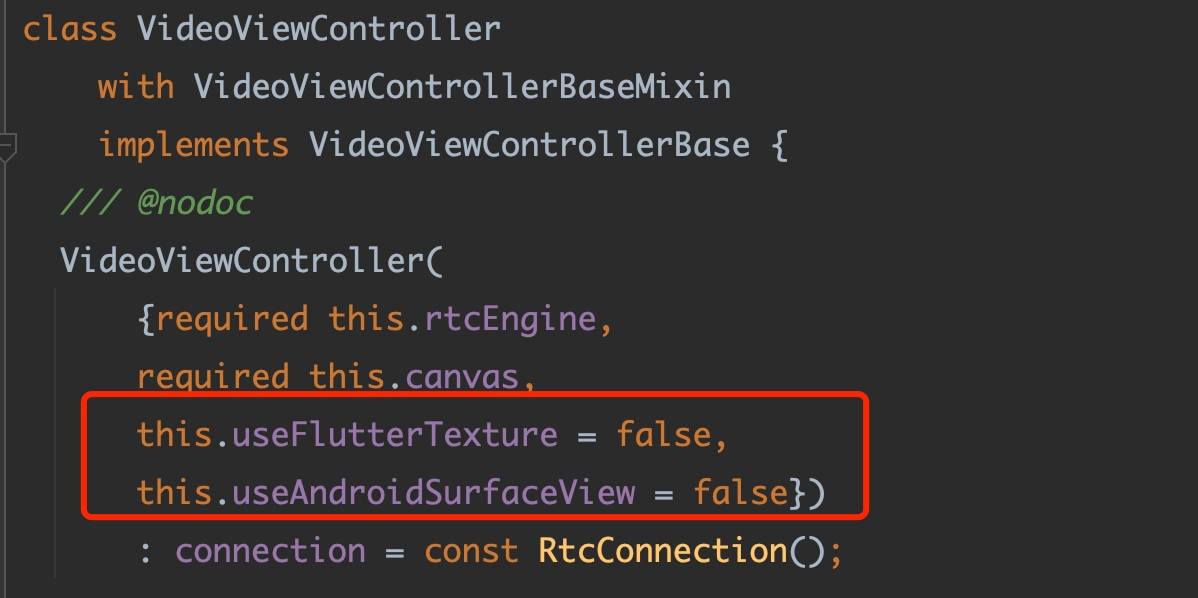
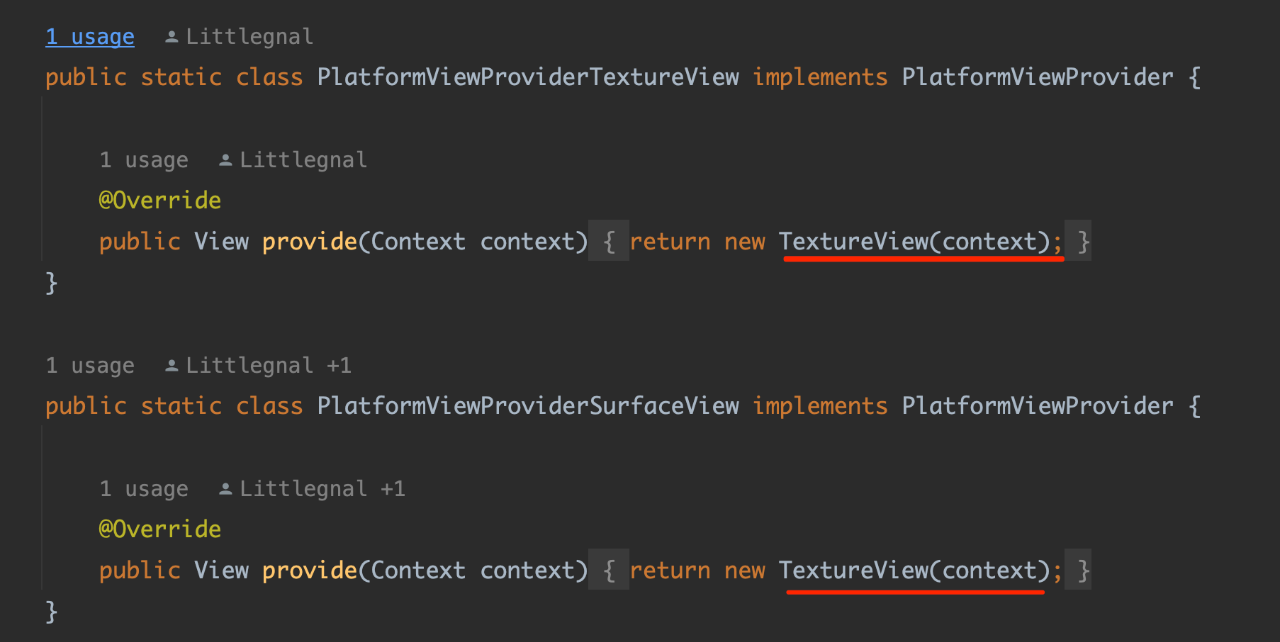
而针对 useAndroidSurfaceView 参数,从源码中可以看到,它目前只对 android 平台生效,但是如果你去看原生平台的 java 源码实现,可以看到其实不管是 AgoraTextureView 配置还是 AgoraSurfaceView 配置,最终 Android 平台上还是使用 TextureView 渲染,所以这个参数目前来看不会有实际的作用。
最后,就像前面说的 , 声网 SDK 是通过 Dart FFI 调用底层动态库进行支持,而这些调用目前看是通过AgoraRtcWrapper进行,比如通过 libAgoraRtcWrapper.so 再去调用 lib-rtc-sdk.so ,如果对于这一块感兴趣的,可以继续深入探索一下。




弱弱地问一句能不能实现画中画功能